It’s already the 20th day of January 2015, and this is my first blog post of the year. I’ve had a successful start so far – taking off work for time to myself and family over the holidays, finishing knitting projects, and starting new ones. Currently I am working on two test knits, a pair of socks (almost a year old – oops!), and finishing up some sample knits for a pattern of mine to be published in a book (eeee! very exciting!). Plus the usual working-full-time-and-being-a-grad-student.
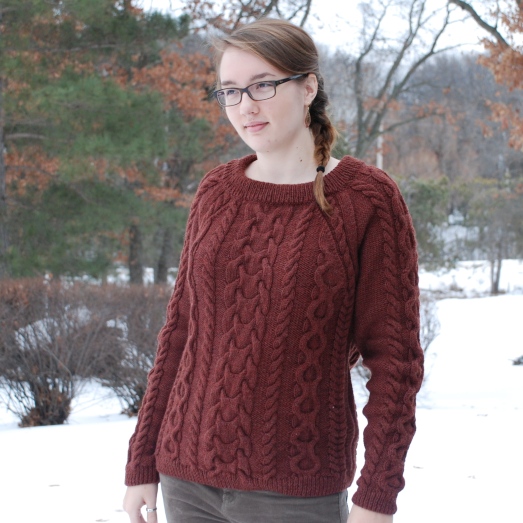
One of the knits I finished earlier this month was a cable sweater test knit. It was my first time knitting a fully cabled garment, so I was very excited. I had some Cascade 220 stashed from a Craftsy.com sale a few years ago. I bought it for around $3.20 a skein!! (I definitely should have bought more.)

I knew the tight twist of Cascade 220 would be a perfect match for a cabled sweater. I also chose this test because the sweater was knit in pieces and seamed; I figured it would be a great way to get my seaming technique perfected. I really, really wanted this project to be my last one of 2014, but if you remember this post, it wasn’t going so well.


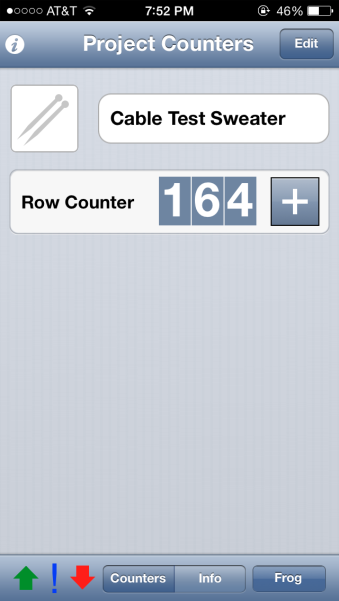
I started with the sleeves to get the cable pattern down. Since there were increases and different cable crossing rows to keep track of, I used the free app “Knit Counter Lite” (paid version here) to help me keep track of all of the increases. It’s quite a handy app – you set it up to show a notification to increase, decrease, or just show an exclamation alert every repeat of rows. I used the increase feature to show me when to increase, the (!) alert to show me when to cross one cable chart, and the decrease notification to show me when to cross another cable chart.

However, I only glanced once at the pattern to see how the cables crossed. After finishing both sleeves, I checked my work against the designer’s sweater. I realized I had misread one row of cable crossings that repeated multiple times in the middle cable design. YIKES! This was definitely the largest mistake I had ever made…

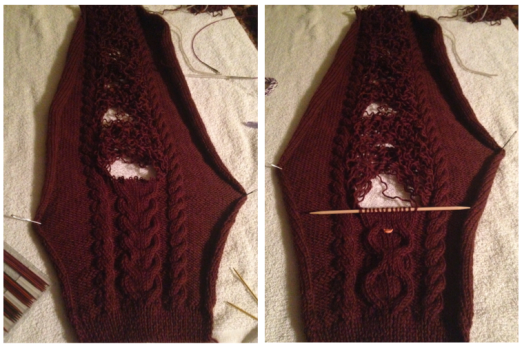
Since it was a test knit, I had to fix my mistake. I had found my mistake right before I went to bed, so it was a fitful night of sleep (us knitters have it rough). I realized that night that I could maybe, just maybe, drop the stitches of the one cable, rip it out to the beginning of the cable, and knit my way back up. I started the next day, and somehow it miraculously worked.
It took 4.5 hours of surgery on the first sleeve, which wasn’t too bad considering it took 10.5 to knit the entire sleeve. I decided to record myself fixing the sleeve so I would always remember to check my knitting patterns twice (or more?) in the future. The second sleeve took only 3.5 hours, which gives me hope that I am becoming better at fixing mistakes….
Disclaimer: I am a knitter, not a videographer….hee hee. 😉 I do not make the best videos (er, actually this is my first) – sorry, no sound. You may also want to skip to 1:40.
Even though I had such a major setback, I still was able to finish the test knit on time. I was rewarded with a lovely sweater!
I learned patience from fixing my sleeve mistakes. I also learned how to seam reverse stockinette stitch together. At first, I thought including a selvage stitch would be useful, but after trying to remember to knit the first stitch every row, I gave up and decided I would figure it out at the end!
I found these two webpages very helpful in seaming: Deborah Knits and Arenda Holladay. (There is a video on the second page.) The main idea is to “see” the “frowns and smiles” on the fabric edges, and to make sure you are consistently sewing into those. I went into every frown and smile, instead of going through two at once. This was different than how I do the mattress stitch – I tend to pick up two yarn ladders at once, instead of just one.

The other technique I learned was the finishing of the neckline. This sweater features a folded and seamed neck; it took some time to get the hang of the interesting finishing required, but it looks beautiful.

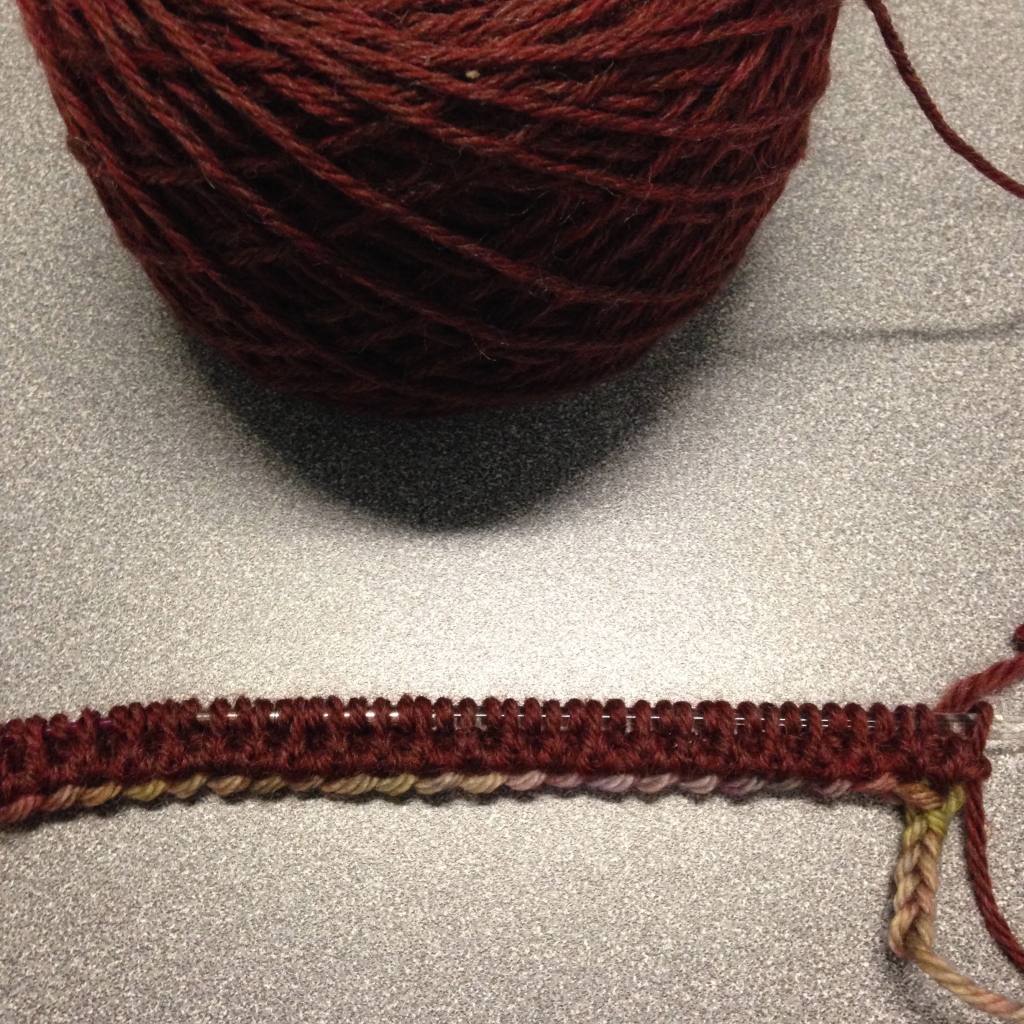
Finally, I also tried the tubular cast on for the first time. I LOVE IT. That was also like magic – how come I’ve never tried it before??! I used it where I could, which was on the sleeve cuffs and ribbing at the bottom of the body.

Overall, it took me 66 hours over 47 days. I would highly recommend this project to an intermediate or experienced knitter looking for a cabled sweater project with finishing details to ensure there will be no boredom. 😉
To see more of my project notes, and photos, check out my Blanca Sweater on Ravelry
As always, thanks for reading!
Don’t forget to follow my blog by email at the top right of the screen
[…] (what’s new about that?) for the past two months. First, I finished a difficult yet rewarding test knit, and secondly, I have four projects on the needles, and two patterns waiting to be typed up, and I […]
LikeLike
[…] test knit. It scored 93, and was in a class of 15 sweaters. This one DID get its own blog post (check it out here), and I wasn’t sure what to expect in the “Adult Texture Pullover” class for my […]
LikeLike