To see how I made a folded hem easier, scroll down to the bolded words!
I really am failing at keeping a regular posting schedule. But I have [another] valid excuse this time! The local county fair is happening, and I was rushing to finish a cardigan to enter in open class. Sadly, it did not get finished – but that sure motivated me to knit a lot!
 Pretty stripes
I started this baby way back in January 2012. It’s knit in the round, bottom-up, with a strand of variegated yarn added every 6th row as a stripe. What makes it unique but still functional is double-held strands of lace weight yarn; it’s so soft and light. Yet I know it will be warm as it’s 100% wool. The stripey yarn is brown/blue/light green/dark green.
“Classic Lines” is by Alison Backus of Knit Picks, and it’s a free download here. I am making the 40″ bust. I ordered my yarn before Knit Picks had a price increase on their wool and alpaca yarn, so it cost about $28!
 Halfway with the body
Problem is, since I started the sleeves almost two years ago, I have grown in my knitting knowledge (in that amount of time, I sure hope I have). I chose this pattern on a whim since it looked “pretty,” but I have come to learn that seamless, [usually] top-down sweaters will save a lot of time at the end.
This sweater has folded and sewn hems on the cuffs, neck, bottom edge, and front bands, instead of more common ribbed edges. While this gives it a clean, sleek look, I am scared for how long they will take to sew down!
Case(s) in point about becoming smarter: First, I have become a more avid Ravelry user in those almost two years. I have learned to check EVERY pattern I am interested in first on there to see how others like it. Such a great learning tool! I never checked Ravelry to see how others liked it before I cast on. Second, I started with the sleeves one-at-a-time on double pointed needles. I CO for each cuff and followed directions so that I’d have to go back later to fold up the edge and hem each one. However, since checking Ravelry, many knitters used a provisional cast on to help seam the hems as they knit. I don’t like that cast on; it takes me forever. But I knew I had to do something for the body, as there were over 200 stitches – I didn’t want to hand sew a hem all the way around that many stitches, yet I didn’t want to spend the time to perfect my provisional cast on.
So this is the mod I thought of:
-Use the knitted cast on with one size smaller needles. Here’s one of many good tutorials. CO slightly loose. If you’ve done this one before, you’ll know that it leaves loops at the edge of your work (one loop for each stitch) after you knit a few rows.
-Follow the instructions for the hem (knit 9 rows, 1 purl row for the turning row). Now switch to your larger, specified size of needles.
-Start your striping, and at the same time, when you are about to start row 10, fold up the hem and find the loop from the CO that corresponds with the first stitch. Hold it with your fingers, insert the left needle into the loop, and knit it together with the stitch on the needle. Do this all the way around.
 Slipping a CO loop to knit together with a stitch
-Keep knitting in pattern. Ta da!! No hem to sew, no chaining of scrap yarn for the provisional cast on, and no worrying about finishing it later.
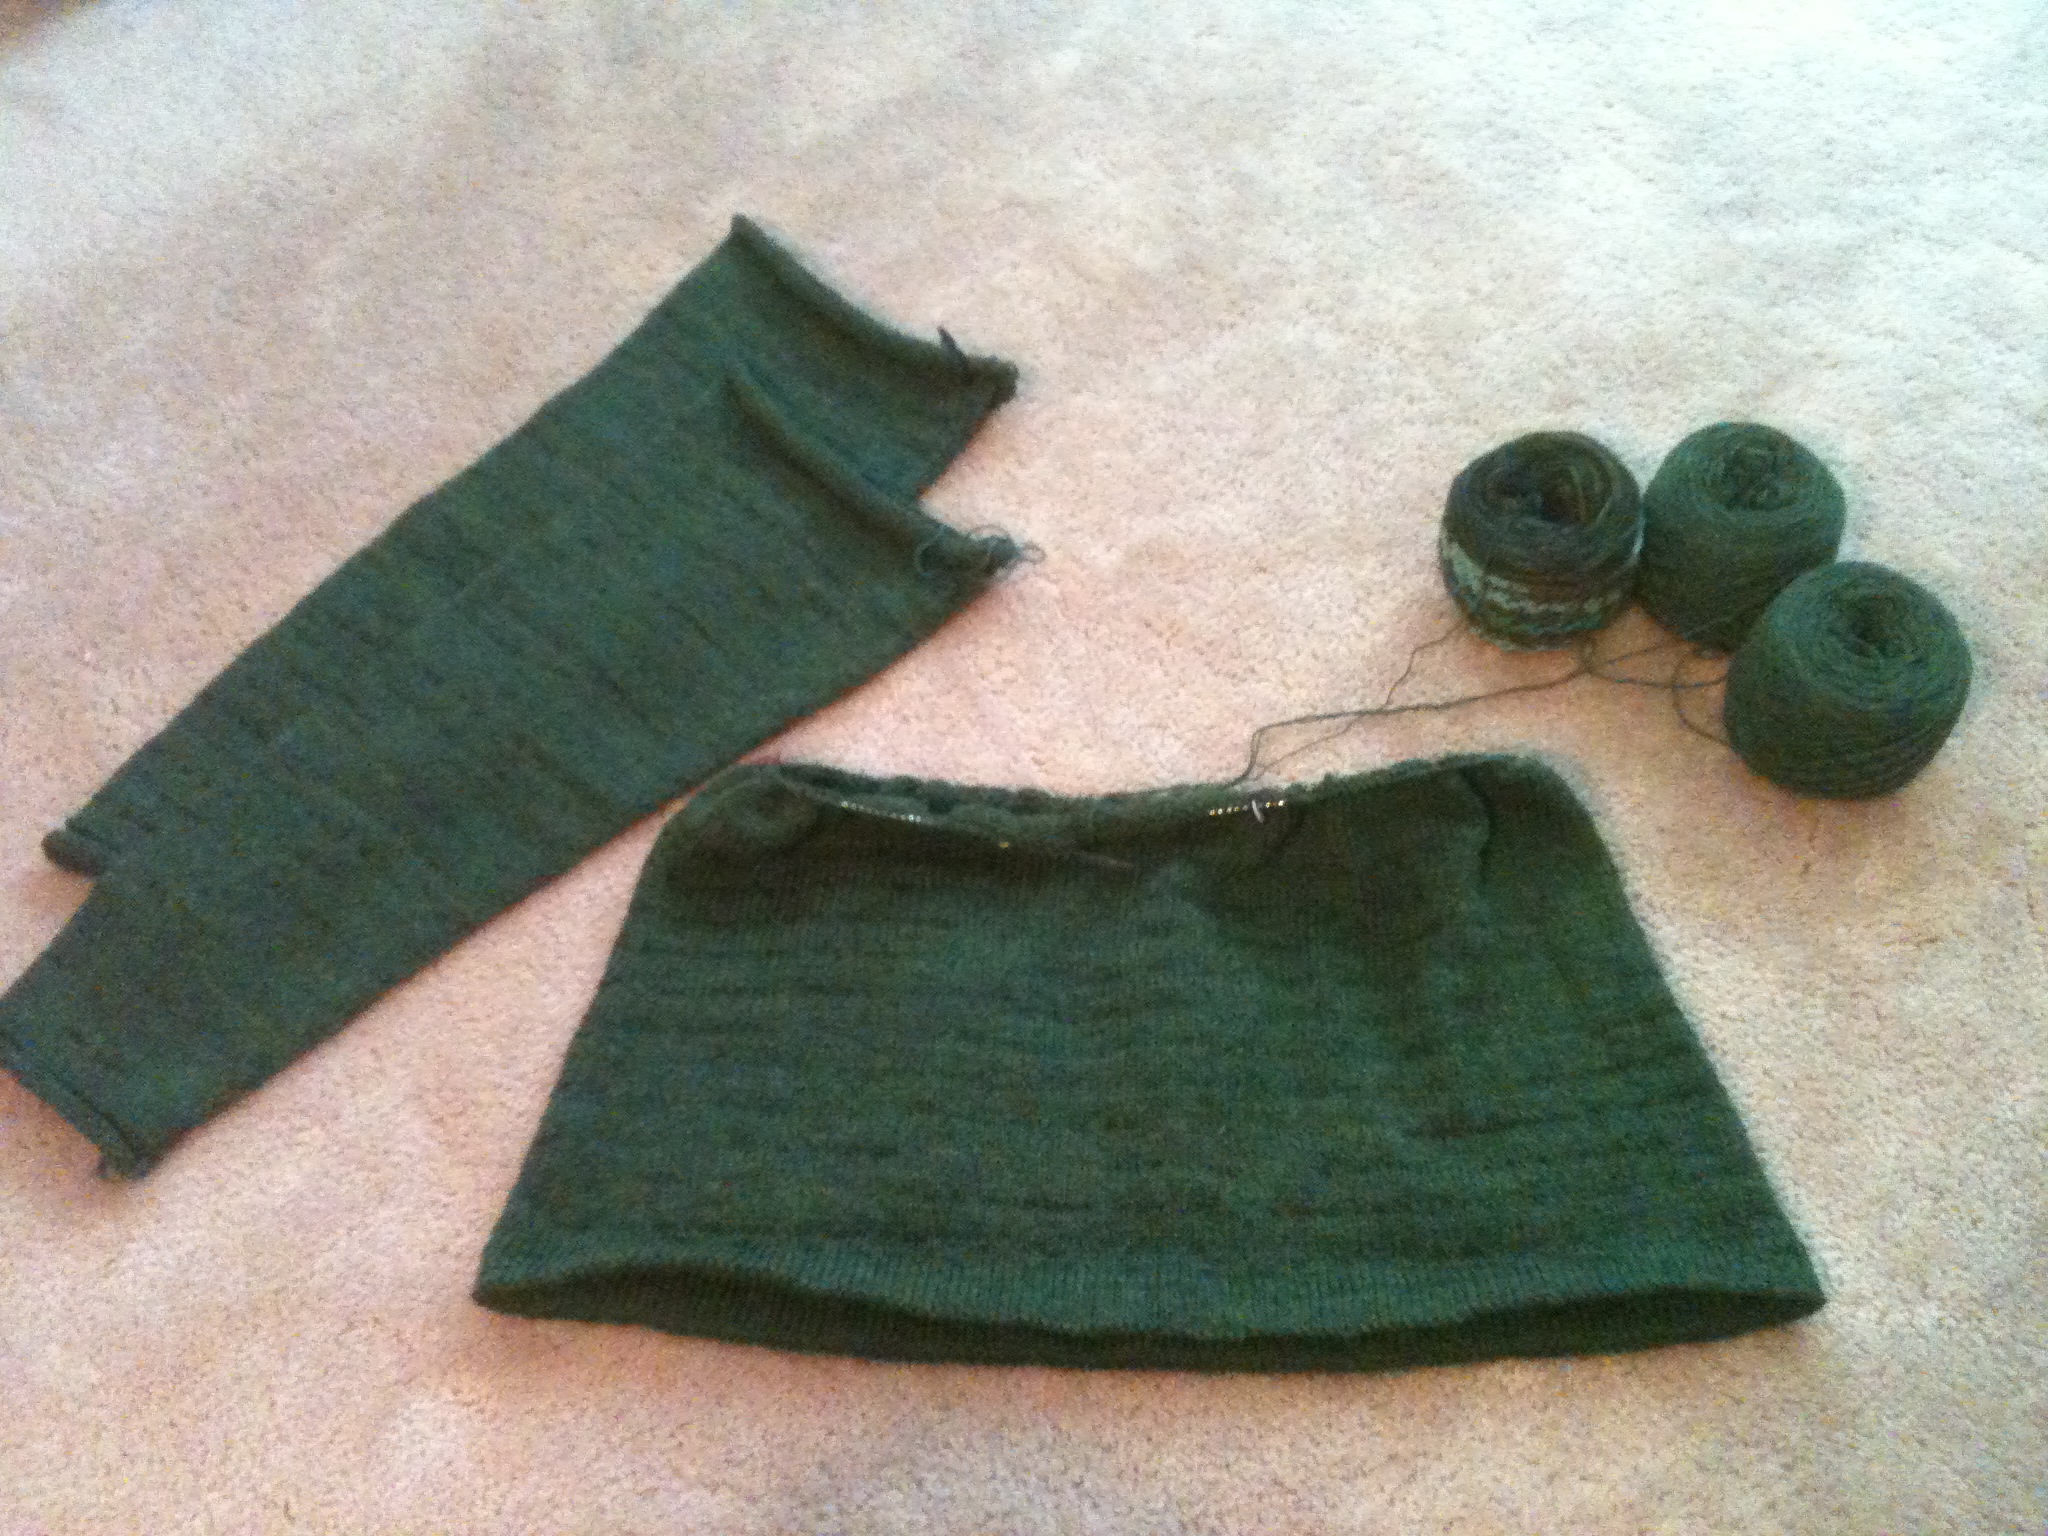
 Progress as of today, July 26 – finished knitting up to bottom of neckline
So, I will still have to knit the neckband, weave in ends, reinforce & steek the front, pick up stitches for the bands on each side of the steek, sew those down, sew the armpit holes where the sleeves are joined, and etc etc.
…Stay tuned for a Part 2 post where I shall write about how that all goes!

[…] sweater, plain pullover class: the green pullover I didn’t like at first (see 1st and 2nd […]
LikeLike
[…] didn’t choose this pattern very carefully, like the last sweater I just finished (yeah, that green one). There are set-in sleeves, which sound scary, as well as steeks, and (it looks like) lots of […]
LikeLike